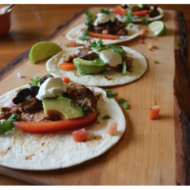
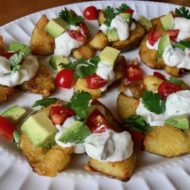
I don’t know about you, but I am always on the hunt for high protein snacks and meals. First of all for myself, because I am getting so so old and need to keep my sad little muscles. But just as importantly, I seek out high protein meals and treats for my kids because THEY […]
Featured Posts
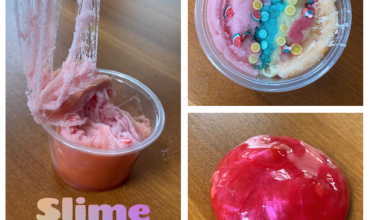
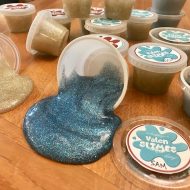
Slime Review – Slime Potionz on Etsy
The kids have recently decided that they are into slime. Again. Good old slime. It just keeps coming back. We've made plenty of slime together over the years, but now they have decided that they want to review other peoples slime. So, they got to work. They hit the inter-webs this spring and found ... read more

DIY Forth of July Shirts
I shared this project on a friends blog years ago ... read more

Why we love CTC Math Curriculum
Have you ever heard of the CTC Math curriculum? ... read more

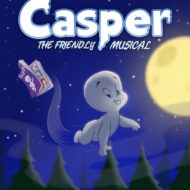
Why we LOVE TCT Academy Classes
You all know we love The Children's Theatre of ... read more